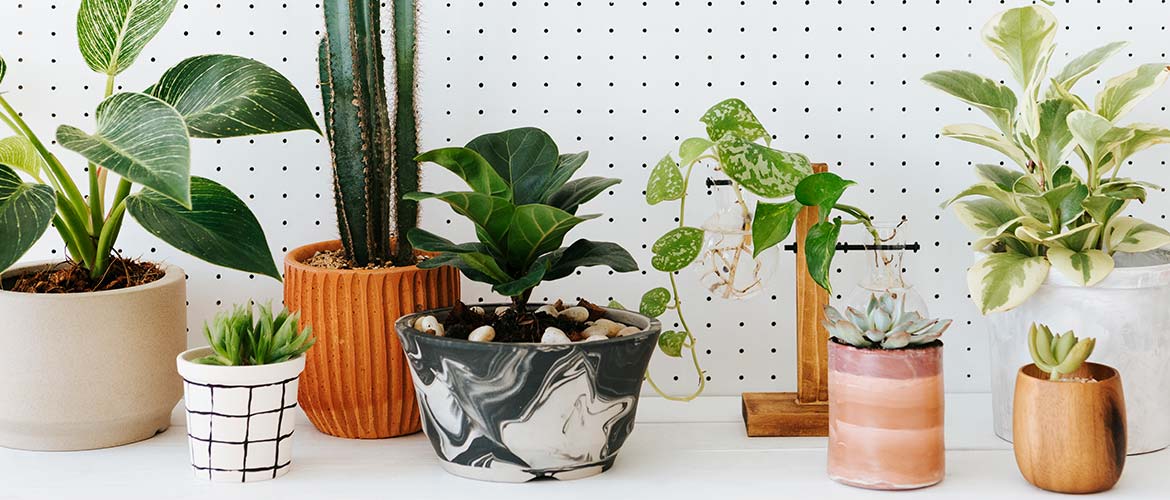
Decor Luxury Handicraft Art, Best Decorative Clay Pots and Manufacturers in India
Are you a plant parent? Did the gardening bug hit you during lockdown? Are you an ace gardener with some of the most beautiful flowers in your neighbourhood? If you’ve got a green thumb, you’ve come to the right place. As the no.1 decorative clay pots and planters manufacturers in India, we’ve got an interesting DIY project for you.
You put so much time pruning and watering your plant babies! Shouldn’t the pots that you display them be beautiful too? Worry not! We’ve got some creative DIY ideas to turn your bland terracotta pots into beautiful handcrafted creations, that will be Instagram-worthy. We’re sure once you implement these ideas the likes and shares will keep rolling.
1. Give your Pots a Manicure – Nail Polish Marble Painting

All you need for this project is a bucket of water, nail polish and a couple of your favourite flower pots. Fill a large bucket up to halfway with water. Then pour in a few different nail polishes. Go for interesting combinations and experiment with different shades. Use a toothpick to swirl the nail paint around the water. The more area it covers the more it will stick on to the pot.
Next, dip a terracotta pot into the water. Let the nail enamel coat to the sides. You may have to dip the pot several times to cover all sides. Dry the pot. Voila, you’ve got an awesome marble effect on your favourite pots. The beauty of this project is that you can get interesting patterns and effects by using the same colours.
2. Go Glitzy and Glamorous – Gold Dipped Pots
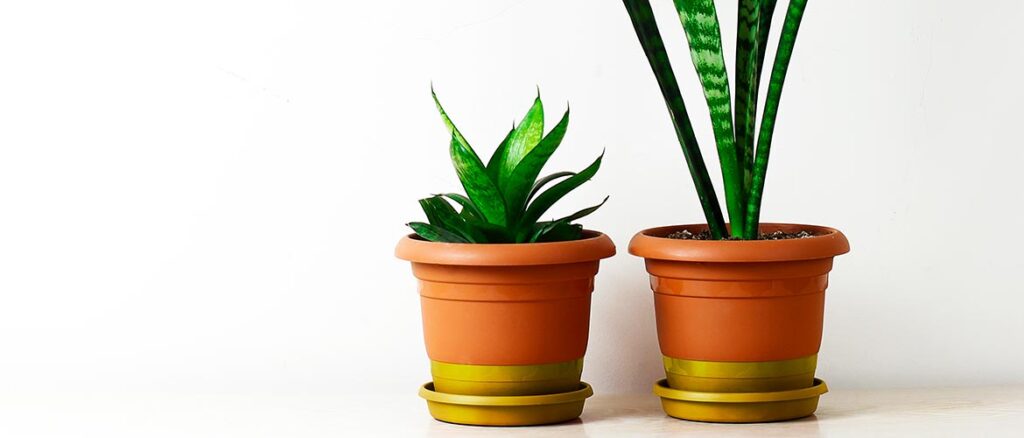
Looking to go the extra mile with your decorative pots? We’ve got a super awesome tutorial from Pottery Barn. For this project, you will need the following materials: terracotta pots, foam brush, masking/washi tape, acrylic paint, gold spray paint.
Use the foam brush to apply acrylic paint to the terracotta pots. Make sure to coat the inner edges of the pot with the acrylic colour. Let the first coat dry. If the colour feels light, you can give a second coat for full opaque coverage.
Once the paint dries completely, use washi tape to cover the sides of the pot, about one third of the way up. Then spray paint the bottom uncovered portion with gold glitter spray paint. Let the spray paint dry completely. Then plant your favourite succulents and cover the top portion of the pot with aquarium pebbles.
This DIY gives your pots a glamorous effect, making them a great desk accessory. Mix and match colours to add a pop of colour to your desk.
3. Message Pots – Using Chalkboard Paints
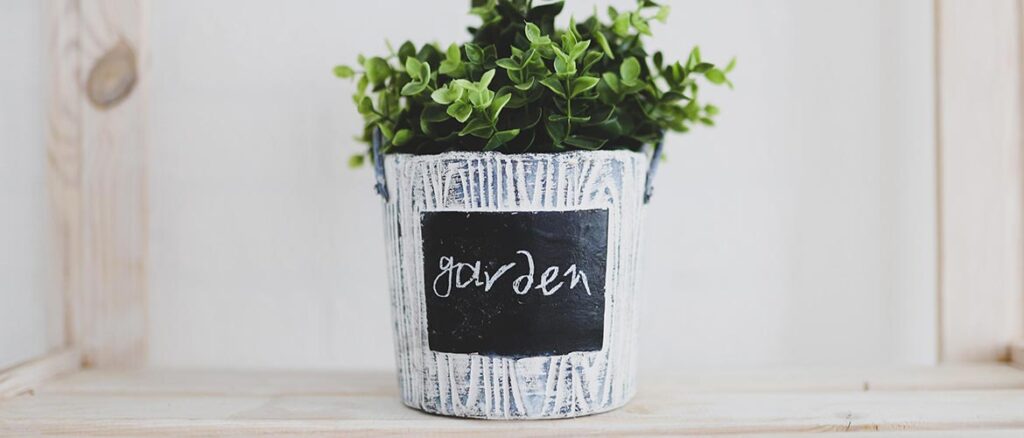
Chalkboard paints are a DIY-er favourite item. They are so versatile and can be used on everything. Use black chalkboard paint to cover the outer edges of the pot. Then, write a cute message and gift your handmade pot to friends and family. This is an excellent return gift for parties – it’s cute and cheap. Note that chalkboard paints are available in various colours – so you can mix and match to suit the theme of the event.
4. Sew a Fabric Cover for your Clay Pots
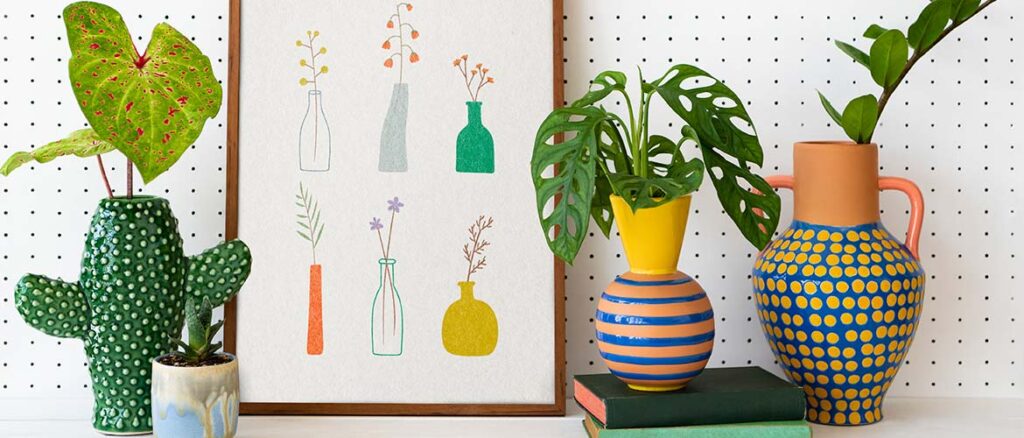
If you love easy sewing projects, then this tutorial is perfect for you. For this, you will need the following materials: fabric for outer, fabric for lining (preferably jute), sewing machine, thread, scissors, pins, and fabric marker.
The first step is to create a template for the pot: it has two pieces, a circle for the base and rectangle for the sides. Draw the template on a newspaper and then trace the dimensions on the back of the fabric.
Template:
- Trace around the base of the planter. Next draw a circle that is 2cm bigger than the circle you have traced. This is the circle part of the template.
- Calculate the length of the rectangle by multiplying the diameter of the bigger circle by 3.14. For example, if the base has a diameter of 17 cm, then the length of the rectangle will be 17 * 3.14 = 51.38 cm.
- The width of the rectangle is the height of the pot.
Now, you have created the template. Trace it on the fabric and it’s time to get sewing.
- Trace the circle and rectangle on both the inner and outer fabric.
- Sew short ends of the rectangle, with the inner and outer fabric with the right sides facing. Reverse the sides and you now have a tube.
- Pin the circle to one side of the rectangle and sew the base. Reverse. You now have a basket cover for your pot.
These DIY fabric planter covers are easy to sew and are washable. Place the pot with a plate inside the fabric basket and add a cute effect to your indoor plants.
5. Footprint Butterfly Planters – A Keepsake

This is another creative project that is perfect for plant parents with little kids at home. Things that you need: A clay pot that is large enough to fit your little one’s foot, acrylic paint, foam brushes, black marker and thin brushes.
This project could get a little messy. So, you can do it outside or spread newspapers on the ground, before you get started. Paint your toddler’s feet using the acrylic colours. Then, place the footprint on the side of the pot to create a butterfly-like pattern. Once it dries, give the finishing touches to the butterfly – antennae and body – using black paint or markers.
Voila, you have an adorable customised gift that you can keep for yourself or gift to grandparents and aunts.
Which of these DIY planter ideas are you excited to try? For the best decorative terracotta pots at the best prices, reach out to Decor Luxury Handicraft Art, the No.1 garden pots and planters manufacturers in India. We have a huge collection of pots in different sizes and materials to suit all your gardening needs.


